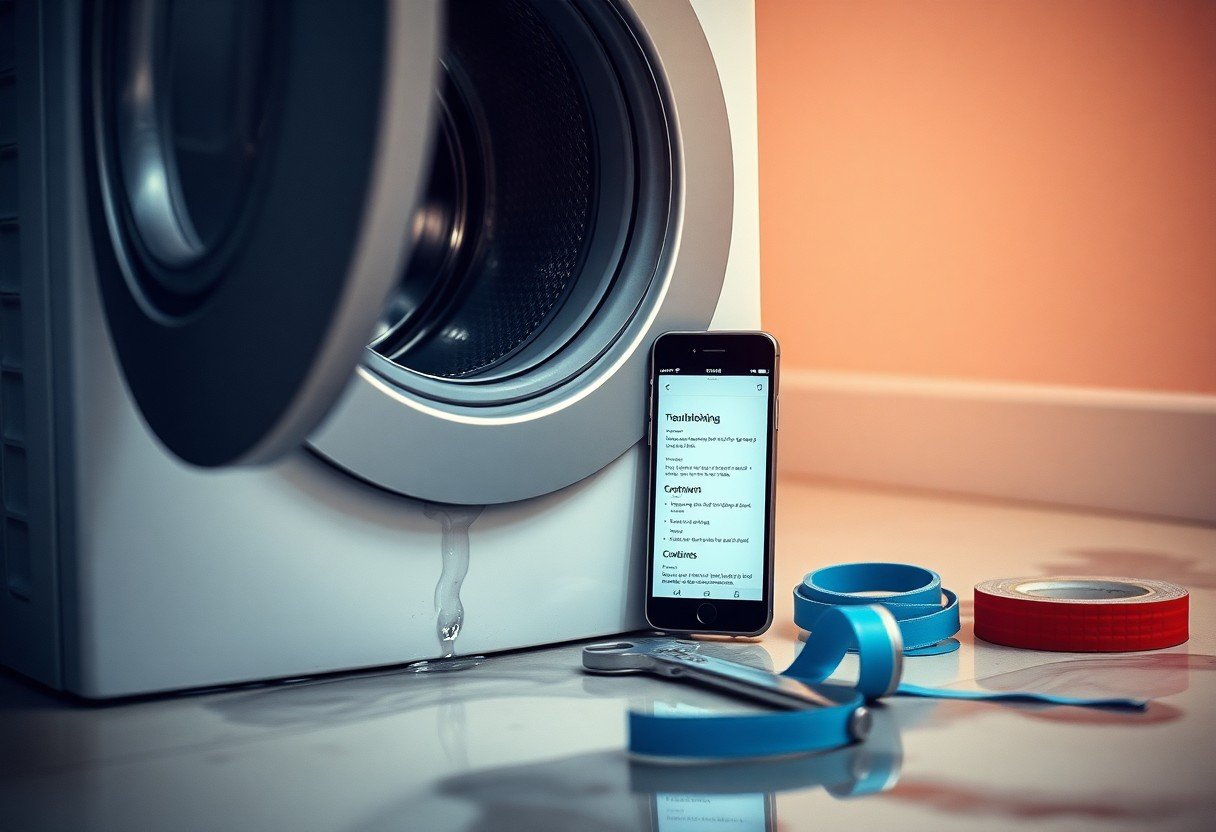
Most washing machine leaks can lead to significant water damage if not addressed quickly. In this guide, you will learn how to identify the source of the leak and effectively stop it in just five manageable steps. By proactively addressing the issue, you can protect your home from potential serious damage and expensive repairs. Follow these steps to restore your washing machine’s functionality and maintain a safe, dry laundry area.
Key Takeaways:
- Identify the source of the leak before proceeding with repairs.
- Inspect and tighten hoses and connections to prevent water escape.
- Regular maintenance can help prevent leaks from forming in the future.
Understanding the Problem
Common Causes of Washing Machine Leaks
Washing machine leaks can stem from various sources. Common issues include loose or damaged hoses, worn-out door seals, and clogged or malfunctioning pumps. Additionally, verifying that the washing machine is level can prevent excess water flow. Overloading the machine or using excessive detergent can also contribute to leaks, causing your laundry area to become a soggy mess.
Signs of a Leak: How to Identify the Issue
Detecting a leak early can save you from costly repairs. Look for puddles or damp spots around the machine, as these are clear indicators. You may also notice a musty odor from dampness, or hear water running when the machine is not in use. Listen for any unusual noises that could signal a malfunction in internal components.
If you see water pooling underneath or around your washing machine, investigate immediately. Inspect the hose fittings for drips and closely check the rubber seals for wear. If your machine is not level, it can cause water to leak from the door during cycles. Additionally, pay attention to how your clothes feel – if they come out excessively wet, it could indicate a problem with the machine’s drainage system. Early detection is key to minimizing potential damage and repair costs.
Step 1: Prepare for Inspection
Gather Necessary Tools
Before you start, make sure you have the right tools at hand. A flashlight, adjustable wrench, screwdriver set, and a bucket can be imperative for the inspection process. These tools help you access hard-to-see areas and allow you to tighten or replace any faulty components during your inspection. Keep a towel nearby to absorb any residual water as well.
Safety Precautions
Safety is paramount when dealing with electrical appliances. Ensure the washing machine is unplugged before beginning your inspection to prevent any electrical hazards. Additionally, wear rubber gloves while handling water, and if your machine is on an elevated surface, avoid slipping by wearing non-slip shoes.
In dealing with potential water leaks, it’s important to ensure that the area around the washing machine is dry and clear of obstacles. This reduces the risk of slipping on wet floors. Always inspect the electrical connections for any signs of damage or wear. If you encounter a significant leak, consider turning off the water supply to the machine to avoid further flooding. By prioritizing these safety measures, you protect yourself from injuries and equipment damage during your inspection process.
Step 2: Inspect the Hoses
Checking for Damage or Wear
Inspect your washing machine hoses for any signs of cracks, bulges, or fraying. Over time, hoses can deteriorate due to age or exposure to extreme temperatures. If you notice any damage, it’s necessary to replace the hoses immediately, as even a small leak can lead to significant water damage in your home.
Securing Loose Connections
Loose connections can cause water to leak from your washing machine. Ensure all hose connections are tight and secure to prevent spills during operation. Check the connection points at both the water source and the washing machine itself; a simple adjustment can frequently resolve leaks that seem more complex.
To tighten loose connections, use a pair of pliers to gently secure the hose fittings. Be cautious not to overtighten, as this can damage the fittings or the hoses. For a more permanent solution, consider replacing rubber washers inside the connectors, which can wear out over time and lead to leaks. A good practice is to check all connections annually to maintain optimal performance and prevent future leaks.
Step 3: Examine the Door Seal
Cleaning the Door Gasket
Begin by inspecting the door gasket for any dirt, debris, or mildew that may have accumulated. To clean it, use a mixture of warm water and mild detergent on a soft cloth. Wipe along the entire circumference, paying special attention to crevices where water may collect. This simple maintenance can significantly reduce the risk of leaks and prolong the life of the gasket.
Replacing a Deteriorated Seal
If the door seal shows signs of damage, such as cracks or tears, you need to replace it. A deteriorated gasket can lead to leaks during the wash cycle. Make sure to purchase a replacement that matches your washing machine model, and follow installation instructions carefully to ensure a proper fit.
When replacing a deteriorated seal, first detach the old gasket by removing any screws or retaining clips. Clean the groove thoroughly to remove residue before installing the new seal. Align it properly and secure it with the same screws or clips. Ensuring a tight fit is imperative, as even a slight gap can result in leaks. This replacement can restore your washing machine’s efficiency and help maintain a dry laundry area.
Step 4: Analyze the Drainage System
Checking the Drain Hose Position
Ensure the drain hose is positioned correctly. It should be placed at a height that allows water to flow out easily, typically 30-96 inches above the floor. A hose that’s too low can lead to siphoning, causing water to leak during operation. Additionally, look for kinks or sharp bends that may obstruct water flow, which could contribute to leaks.
Inspecting the Filter for Blockages
Examine the filter for any blockages that may impede drainage. Over time, lint, dirt, and small objects can accumulate, preventing water from flowing freely out of your machine. Cleaning the filter regularly helps maintain optimal performance and prevents leaks caused by backup.
To conduct a thorough inspection, you will need to remove the filter per your washing machine’s manual instructions. Look for tangled fabric softener sheets or accumulated lint inside the filter compartment. A clean filter is crucial; a blocked filter can cause water to back up into the tub, leading to leaks during the washing cycle. Consider checking your filter monthly to avoid these issues.
Step 5: Test for Success
Running a Test Cycle
After completing your repairs, it’s time to run a test cycle. Choose a normal wash setting and allow the machine to fill, wash, and drain as you typically would. Keep an eye on the connection points and the floor to check for any signs of water escaping. You want to ensure that everything is operating smoothly without leaks.
Monitoring for Further Leaks
Once the test cycle is finished, it’s necessary to continue monitoring the washing machine area for at least an hour. Inspect both the machine and the floor thoroughly; if you see water pooling or dampness, this could indicate an unresolved issue that needs your attention.
Prolonged monitoring is vital, as some leaks may not be immediately apparent. Be particularly diligent around joints and seals, as these are common failure points. Take note of changes over the next few days—return to check the area after several hours and the day after the test cycle. If you observe any signs of leakage, it may be necessary to revisit your previous steps or consult a professional for assistance.
Prevention Tips
- Inspect hoses regularly for wear and tear.
- Ensure proper drainage system alignment.
- Keep the machine balanced.
- Use the right detergents specified for your model.
- Schedule maintenance checks periodically.
Recognizing the importance of proactive measures can save you from unexpected leaks and costly repairs. By implementing these prevention tips, you’ll significantly reduce the risk of a leaking washing machine.
Regular Maintenance Practices
Performing regular maintenance on your washing machine can drastically extend its lifespan. Check hoses for cracks or bulges monthly, ensuring they are tightly secured. You should also clean the filter every few months to prevent clogs and buildup. Any signs of moisture or corrosion around connections should be addressed immediately to avoid leaks.
Best Practices for Usage
Using your washing machine effectively is key to preventing leaks. Ensure that you do not overload the machine, as excess weight can stress parts and lead to failures. Always follow the recommended settings for your load size, and avoid using too much detergent, which can create excess suds and leaks. Keep an eye on strange noises or vibrations, as these may indicate issues that need investigation before they escalate.
Overloading your washing machine can strain its components, causing gaskets and seals to wear prematurely. It’s advisable to load clothes moderately, leaving enough room for movement. Additionally, using an appropriate detergent quantity based on load size will prevent excessive sudsing, which can damage seals over time. Observing how your machine operates will help you catch potential problems early, minimizing costly repairs and ensuring longevity.
Summing up
From above, you’ve learned how to effectively address a leaking washing machine in just five steps. By regularly inspecting hoses, checking for proper installation, ensuring door seals are intact, monitoring your detergent usage, and using the right cycle settings, you can prevent leaks and maintain the longevity of your appliance. Following these guidelines will help you keep your laundry area dry and functional, ensuring a hassle-free washing experience.
FAQ
Q: What are the common causes of a washing machine leaking water?
A: Common causes include damaged hoses, worn-out door seals, clogged drains, improperly loaded machines, and faulty pumps.
Q: How can I check for a faulty hose?
A: Inspect the hoses for cracks or bulges, ensure they are securely attached to both the machine and the water supply, and check for any leaks during a cycle.
Q: What should I do if the door seal is damaged?
A: If the door seal is damaged, clean it to remove debris, and consider replacing it if you see visible wear or tears to prevent leaks.
Q: How can I unclog the drain to fix the leak?
A: Turn off the machine, check the drain filter for blockages, use a wet/dry vacuum to remove debris, and ensure the drain hose is not kinked or blocked.
Q: Is it safe to continue using a leaking washing machine?
A: No, it’s not safe. Continuing to use a leaking washing machine can lead to water damage and electrical hazards. Address the leak immediately.