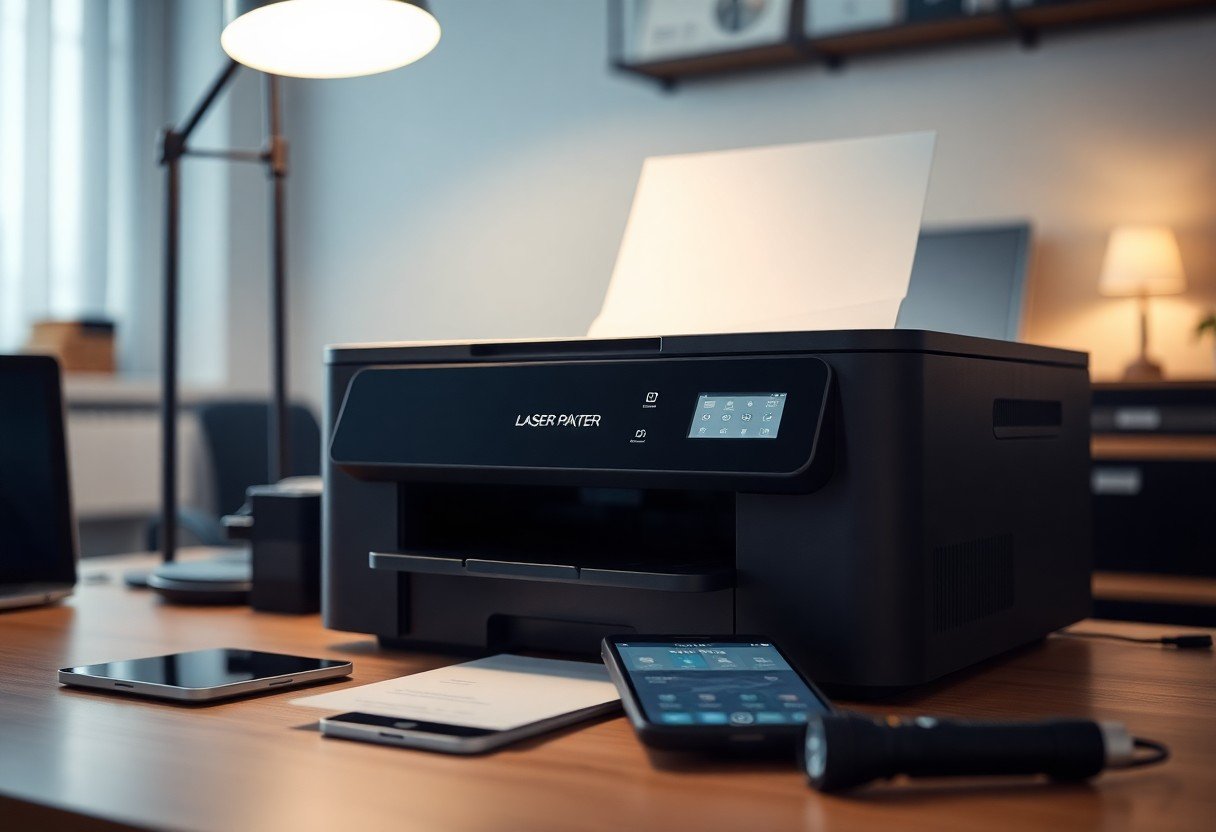
Troubleshooting printer issues can often feel daunting, but with the right steps, you can quickly unblock and fix your printing problems in under 10 minutes. Whether it’s a connectivity issue, low ink, or a jammed paper, addressing these common problems ensures your printer delivers the results you need. By following this guide, you’ll regain full functionality and avoid the stress of delayed projects, keeping your productivity intact.
Key Takeaways:
- Check for paper jams or low ink levels before troubleshooting further.
- Ensure the printer is properly connected to the network or computer.
- Restart the printer and the connected device to resolve temporary issues.
Check Power Connection
Ensure printer plugged in
First, confirm that your printer is plugged into a working electrical outlet. A loose connection can prevent your printer from receiving power. Check the cord and ensure it is securely connected to both the wall outlet and the printer itself.
Verify power switch status
Next, check the power switch on your printer. It might seem simple, but if the printer is turned off, it won’t function. Ensure that the switch is in the “on” position.
The power switch status is often overlooked but can be a common reason for printing issues. If the switch is in the “off” position, simply flipping it to “on” should resolve your problem, restoring functionality quickly. Additionally, if the printer has a power indicator light, ensure it is illuminated, signaling that the printer is receiving power.
Inspect Printer Cables
Check USB Connection
Ensure the USB cable connecting your printer to your computer is securely plugged in at both ends. A loose or damaged connection may prevent communication between your devices and result in printing issues. Consider using a different USB port or cable if necessary to rule out connectivity problems.
Examine Network Cables
For network printers, inspect the Ethernet cables connecting your printer to the network. A loose or frayed cable can disrupt the connection, leading to printing failures. Make sure to check both the printer side and the router or switch side for any visible damage.
Look for visible damage such as cuts or bends in your network cables, which can affect performance. Ensure that all connections are tight and secure to maintain a stable network signal. You may also want to power cycle both your printer and router to refresh the connection. If problems persist, consider using a different cable to test if the original is faulty, potentially restoring your printer’s functionality.
Review Ink or Toner
Check ink levels
To ensure your printer is working, first check the ink levels or toner levels through your printer’s control panel or software. Most modern printers offer a simple way to view how much ink is left, preventing you from running into unexpected print quality issues.
Replace empty cartridges
If the ink levels are low or empty, it’s time to replace the cartridges. Make sure to purchase the correct model compatible with your printer. This ensures a smooth printing experience and preserves print quality.
When you replace empty cartridges, always handle them with care to avoid ink spills. Take the time to properly remove the old cartridge and insert the new one, ensuring it’s firmly in place. Using fresh, high-quality cartridges not only enhances print clarity but can also help prevent issues like clogging or smudging that can disrupt your printing tasks.
Clear Print Queue
Open print queue
To address printing issues, you first need to open your print queue. On Windows, click the Start menu, select “Devices and Printers,” then find your printer and double-click it. On Mac, go to “System Preferences,” select “Printers & Scanners,” and click your printer to view the queue. This will display all pending print jobs.
Cancel stuck jobs
If you notice any jobs that are not progressing, you need to cancel them. In the print queue window, right-click on the stuck job and select “Cancel.” This should remove it from the queue, allowing you to attempt printing again.
When you cancel stuck jobs, be aware that you may need to perform this action multiple times if several jobs are hanging. If one job is blocking the queue, it can prevent all others from printing. It’s important to work through the list, cancelling each one until you find the culprit. After clearing out the queue, you can resume printing smoothly.
Restart Devices
Power cycle printer
To fix printing issues, you can power cycle your printer. Simply turn it off, unplug it from the power source, wait for about 30 seconds, and then plug it back in and turn it on. This helps reset internal settings and clear temporary errors.
Restart computer
Restarting your computer can resolve connectivity issues with your printer. It clears out any processes that might be interfering with the printing function and refreshes your system’s resources.
To properly restart your computer, save any important work and close all applications. Click on the appropriate restart option for your operating system. A complete reboot helps refresh background processes and can fix driver conflicts. This step is often overlooked but can lead to improved communication between your printer and computer.
Update Printer Drivers
Visit Manufacturer Site
To resolve printing issues, you should navigate to your printer manufacturer’s website. Here, you can find resources specifically designed to assist you with driver updates. By accessing the manufacturer site directly, you ensure the updates are authentic and relevant to your printer model.
Download Latest Drivers
Once on the manufacturer’s site, locate the drivers and support section. You need to search for your printer model to find the correct drivers available for download. This may involve entering your printer’s model number, enabling you to access the most recent software updates.
When you download the latest drivers, choose the version that matches your operating system. This is vital as incompatible drivers can lead to further issues. After downloading, follow the installation prompts carefully to ensure your printer is properly configured. Keeping your printer drivers up to date can significantly enhance performance and reduce the likelihood of future printing problems.
Check for Blockages
Inspect paper tray
Before troubleshooting further, you should carefully inspect your paper tray. Ensure it is loaded with the correct paper size and type, and check for any debris or foreign objects that may obstruct the paper flow. A dirty or misaligned tray can easily disrupt printing operations, so keep it clean and correctly adjusted.
Clear jams in printer
If your printer isn’t printing, a common issue might be paper jams. Inspect the feed area and the output tray for any stuck paper. Turn off the printer before attempting to remove any jammed sheets to avoid injury or damage. Always pull the paper out gently to prevent tearing.
To effectively clear jams in your printer, you should identify the specific area where the paper is jammed. Check the input tray, output slot, and any inner compartments. Use caution when handling any torn pieces, as they can be sharp or difficult to remove. Utilize the printer’s manual for detailed instructions on accessing internal areas. After clearing the jam, ensure that all components are securely closed before powering the printer back on. A clean and well-maintained printer will significantly improve your chances of uninterrupted printing.
Run Printer Troubleshooter
Access settings menu
To start, you need to access the settings menu on your computer. Click on the Start menu, then select Settings, followed by Devices. Here, you’ll find an option for Printers & Scanners. Click on it to view your connected printers and initiate the troubleshooting process.
Follow troubleshooting steps
Once you’re in the Printers & Scanners section, select your printer and click on the Manage button. Choose Run the troubleshooter and follow the on-screen instructions to diagnose and fix any issues.
The troubleshooter will guide you through a series of diagnostic steps tailored to identify common problems such as connectivity issues, outdated drivers, or misconfigured settings. Make sure you carefully read each prompt and implement the suggested solutions. Completing the process can significantly improve your printer’s functionality and enhance your overall printing experience.
Check Firewall Settings
Review security software
Examine your security software, as it may inadvertently block your printer’s access. Look for any notifications or alerts that indicate the printer is being restricted. Adjust settings accordingly to allow communication between your computer and the printer.
Allow printer access
To ensure uninterrupted printing, configure your firewall to allow printer access. This often involves adding the printer’s IP address, hostname, or applying specific settings in the firewall configuration to permit data transfer.
If your firewall is blocking the printer, it may prevent printing altogether. Open your firewall settings and navigate to the application or service settings. Here, you can add exceptions for your printer software. Make sure to check for both inbound and outbound rules to ensure proper communication. Adjusting these settings can significantly enhance your printing capabilities and reduce connectivity issues.
Use a Different Computer
Try printing from another
If your printer isn’t responding, try printing from another computer. This will help determine if the issue lies with your printer or your original device. Connect your printer to a different computer via USB or ensure it’s on the same Wi-Fi network. If printing works from the alternate device, your initial computer may have connectivity or driver issues.
Identify hardware issues
Sometimes, hardware malfunctions can prevent a printer from functioning correctly. Inspect your printer for any physical signs of damage or wear and tear. Check cables, cartridges, and paper jams, as these can influence performance significantly.
Look closely at the connection cables for any fraying or breaks that can disrupt power or data transmission. Make sure the ink or toner cartridges are properly installed and contain sufficient levels of ink. Additionally, examine for paper jams, as obstructions in the paper path can halt printing. Confirm that your printer’s status lights indicate normal operation; any warning lights may point to a specific issue that requires immediate attention.
Reset Printer Settings
Restore factory defaults
If your printer is misbehaving, restoring factory defaults can resolve persistent issues. This action will erase any custom settings you have configured, returning the printer to its original state. To do this, navigate to the printer’s settings menu, find the reset option, and follow the prompts to execute the reset.
Reconfigure network settings
After restoring factory defaults, your printer’s network settings will likely need reconfiguration. This includes reconnecting to your Wi-Fi network and entering any necessary credentials. Access the network setup menu, select your network, and input the password to establish a connection.
When you reconfigure network settings, ensure that you are connecting to the correct Wi-Fi network and entering the password accurately. A successful connection is vital for wireless printing to function correctly. Additionally, check if your printer and device are on the same network band (2.4GHz or 5GHz) for optimal performance. If issues persist, consider reviewing your router settings or updating your printer’s firmware to the latest version.
Check Printer Compatibility
Confirm device connections
Ensure that your printer is properly connected to your computer or network. Check both the USB and power cables for secure connections. If you’re using a wireless printer, verify that it is connected to the correct Wi-Fi network and that your device is on the same network.
Review OS compatibility
Inspect whether your printer is compatible with your operating system. Manufacturers often provide a list of supported systems in the printer’s documentation or website. If your OS version is outdated or unsupported, you may encounter printing issues.
To enhance your printing experience, always verify the supported OS versions of your printer model. Check for driver updates on the manufacturer’s website, as outdated drivers can lead to functionality problems. It is also important to avoid using printers with incompatible drivers, as this can result in printing errors or complete failure to print.
Print a Test Page
Access printer settings
To start, you need to access your printer settings through your computer. Navigate to the Control Panel or System Preferences, depending on your operating system. Locate the ‘Devices and Printers’ or ‘Printers & Scanners’ section. Here, find your printer, right-click on it, and select ‘Printer Properties’ to open the configuration settings.
Execute test print
Once you’re in the printer settings, look for the option to print a test page. This feature is typically located under the ‘General’ or ‘Maintenance’ tab. Click the ‘Print Test Page’ button to initiate a test print.
Executing a test print allows you to quickly verify whether your printer is functioning properly. If the test page prints successfully, your printer is likely set up for normal operation. If you encounter any errors, it may indicate issues like connection problems or driver errors. Addressing these can significantly enhance your printing experience, ensuring your documents are printed without hassle.
Ensure Proper Paper Type
Use recommended paper
Always use the recommended paper type for your printer, as specified in the user manual. Using improper paper can lead to jams, poor print quality, and even damage to your printer. Make sure to check the guidelines before selecting your paper.
Check for right size
Confirm that the paper size you are using matches the settings on your printer. If there’s a mismatch, your printer may not recognize the paper, resulting in printing errors.
Ensuring the right size is vital for optimal printing performance. Regularly check your printer settings, and make sure they align with the actual size of the paper loaded in the tray. For instance, if your printer is set to A4 but you are using letter-sized paper, it can lead to misalignments and potential print failures. Proper alignment not only avoids these issues but also enhances the overall quality of your printed documents.
Clear Temporary Files
Delete unnecessary files
Begin by clearing out any unnecessary temporary files that may be clogging up your print queue. Check the folder where your printer retains its temporary files and delete any outdated or unneeded documents. This simple step can resolve common printing issues and streamline your printing process.
Restart print spooler
Restarting the print spooler can effectively reset any blocked commands. You can do this by going to the Services app on your computer, locating the “Print Spooler” service, and selecting “Restart.” This action can clear errors and help your printer communicate with your device more smoothly.
To restart the print spooler, access the Services app by typing “services.msc” in your Windows search bar. Once you find the “Print Spooler” in the list, right-click and choose “Restart.” This process clears any stuck print jobs that may be preventing your printer from functioning properly. By effectively resetting this service, you can often solve issues without needing to probe deeper into troubleshooting.
Check Network Connection
Verify Wi-Fi status
Confirm that your printer is connected to the Wi-Fi network by checking the printer’s display panel. If the Wi-Fi indicator is off or blinking, it is not properly connected. This means that your printer won’t receive print commands, resulting in a non-functioning device.
Connect to right network
Ensure that your printer is connected to the same Wi-Fi network as your computer or mobile device. If the printer is linked to a different network, it cannot communicate with your devices, leading to printing issues.
To connect to the right network, access your printer’s settings through its control panel. Use the wireless setup wizard to select your desired network from the list. Input your Wi-Fi password accurately, as a single typo can prevent connection. Once connected, the printer should appear in your devices list, allowing you to send print jobs without issues. If you are using multiple routers, it’s especially important to check that all devices are connected to the same band, whether 2.4GHz or 5GHz, to avoid further complications.
Look for Error Lights
Note blinking indicators
Check your printer’s control panel for any beyond blinking indicators. These lights typically indicate specific issues, such as paper jams, low ink, or connectivity problems. By assessing the pattern of the blinking lights, you can quickly identify and address the underlying problem causing the printing issue.
Refer user manual
Your printer’s user manual is an imperative resource for troubleshooting. It provides detailed explanations of the error lights and what each one means. If you’re unfamiliar with your printer’s features, consulting the manual can save you time and effort in pinpointing the issue.
The user manual offers tailored information about your specific printer model, including error light definitions and recommended actions. Check the troubleshooting section for step-by-step guidance that can lead you directly to the solution for your current printing problem. This approach can streamline your efforts to restore functionality and minimize downtime.
Disable Offline Mode
Access printer settings
To disable offline mode, you need to access your printer settings. Go to your computer’s Control Panel or Settings menu, then locate the “Devices” or “Printers & Scanners” section. Find your printer in the list and select it to open its properties.
Ttoggle online status
Once in the printer properties, check if the “Use Printer Offline” option is checked. If it is, uncheck this box to bring your printer back online.
Toggling the online status is crucial for ensuring that your printer is correctly communicating with your computer. By unchecking the “Use Printer Offline” option, you re-establish the connection that allows print jobs to be sent. If your printer is still not responding, double-check your network connection or restart both the printer and your computer to reset the settings.
Consult User Manual
Review troubleshooting guide
Check your printer’s troubleshooting guide for helpful tips and solutions tailored to your specific model. This guide often outlines common issues that can prevent your printer from functioning properly and offers steps to resolve them efficiently.
Follow specific directions
Your printer manual contains detailed instructions for addressing various problems, including connectivity and setup issues. Following these steps closely can lead to a swift resolution of your printing problems, ensuring you get back to your tasks without delay.
By adhering to the specific directions outlined in the manual, you can pinpoint the root cause of your printing issue. Whether it involves checking ink levels, verifying printer settings, or confirming network connections, following these tailored steps will often yield positive results. Ignoring the manual’s directions could lead to further complications, so it’s wise to consult it thoroughly before attempting any fix.
Seek Professional Help
Contact customer support
If you’re unable to resolve the printing issues on your own, contacting your printer’s customer support can provide tailored assistance. They can help troubleshoot problems that may not be apparent and guide you through more advanced solutions specific to your printer model. Make sure to have your printer’s model number and any relevant information ready for a smoother experience.
Visit repair service
In some cases, you may need to take your printer to a professional repair service. Technicians can diagnose and fix more severe hardware or software issues that you might not be able to resolve at home. This option is particularly important if you notice any signs of physical damage or hear unusual noises coming from your printer.
Visiting a repair service can be beneficial for your printer’s longevity. Trained professionals have the expertise to identify issues that could lead to more significant problems down the line. They can address software glitches, hardware damage, and ensure proper maintenance. Investing in professional repair can save you money in the long run and enhance your printer’s performance, making it a positive step towards a more efficient printing experience.
To wrap up
Upon reflecting, if your printer is not printing, you can quickly troubleshoot and resolve the issue in under 10 minutes. By checking connections, clearing print queues, and ensuring your device is properly set up, you can restore functionality and improve your printing experience. Regular maintenance and understanding your printer settings will help you avoid future problems. You can confidently tackle common printing issues with these straightforward steps, allowing you to focus on what really matters—your work.
FAQ
Q: What should I check if my printer is not printing?
A: First, ensure the printer is turned on and has paper loaded. Check the connection between the printer and the computer. Make sure all cables are securely connected and that the printer is set as the default device on your computer.
Q: How can I resolve print spooler issues?
A: To resolve print spooler issues, access the Control Panel, navigate to ‘Administrative Tools’, and open ‘Services’. Find ‘Print Spooler’, right-click it, and select ‘Restart’. This should clear any stuck print jobs.
Q: What if my printer shows an error message?
A: If your printer displays an error message, refer to the printer’s manual or the manufacturer’s website for a specific resolution. Common errors like ‘out of paper’ or ‘low ink’ can often be fixed by simply addressing the indicated issue.
Q: How do I fix connectivity issues with my wireless printer?
A: For wireless connectivity issues, ensure that your printer is connected to the correct Wi-Fi network. Restart both your printer and router, and check if your firewall settings are blocking the printer’s connection. Reinstalling the printer’s drivers may also help.
Q: What should I do if my printouts are faded or streaky?
A: If printouts are faded or streaky, check the ink or toner levels and replace cartridges if necessary. Run a print head cleaning utility from your printer’s software, and ensure the printer settings are appropriate for the type of paper being used.