You might find yourself frustrated when your desktop won’t start. Before you panic and call for professional help, there are seven DIY fixes you can try that may solve the issue. From checking the power supply to ensuring all connections are secure, these steps can save you time and money. Some fixes are simple yet effective, while others may require a bit more technical know-how. By tackling these potential issues yourself, you can gain confidence in your computer skills and avoid unnecessary repair costs.
Key Takeaways:
- Check all power connections and ensure the outlet is functioning.
- Inspect hardware components like RAM and hard drives for loose connections.
- Attempt to boot in Safe Mode or use recovery options to diagnose software issues.
Understanding the Problem
Common Signs of a Desktop Not Starting
When your desktop fails to start, you may notice signs like the absence of power indicators, no BIOS screen, or constant error messages. You might also experience unusual sounds, like clicking or grinding, or see the monitor displaying a blank screen. These symptoms indicate issues that require immediate attention before you attempt any fixes.
Potential Causes of Startup Issues
Your desktop’s failure to start can stem from various issues. The most common causes include power supply failures, faulty hardware components, or corrupted software. Specific problems like disconnected cables, malfunctioning RAM, or even overheating can also prevent the system from booting up.
For instance, if the power supply is malfunctioning, imperative components like the motherboard or hard drive won’t receive adequate power, resulting in a failure to boot. Similarly, if RAM is dislodged, it can cause startup problems where the system struggles to access the memory needed for operations. Overheating, often due to dust buildup, can lead to thermal shutdowns, disrupting startup processes. Recognizing these causes can help you diagnose problems more effectively before moving on to potential solutions.
Preliminary Checks
Ensuring Power Supply Functionality
Start by checking if your power supply is functioning properly. Ensure that the power cable is securely plugged into the wall socket and that the socket itself is operational. If available, test the outlet with another device, or use a power strip with a built-in circuit breaker. Look for any signs of damage on the power cable, and consider replacing it if it appears worn.
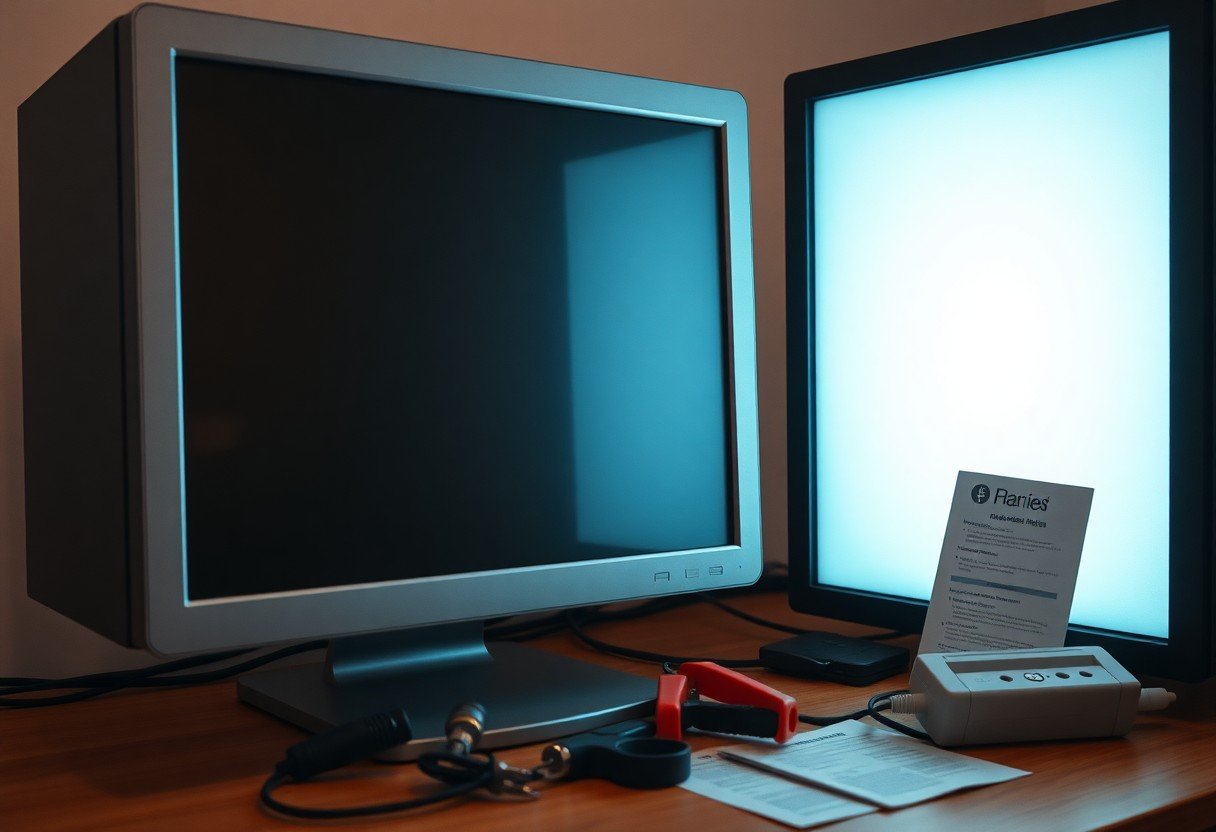
Verifying Monitor and Connections
Next, ensure that the monitor is powered on and properly connected to your desktop. Check the connection cables for frays or damage, and confirm that they are securely plugged into both the monitor and the computer.
If the monitor remains blank, try using a different cable or connecting the monitor to another device to rule out issues with either component. Sometimes, the problem lies within the monitor’s settings, so ensure that it is set to the correct input. A common oversight is mistaking the HDMI port for the VGA port, which can lead to confusion when troubleshooting display issues.
Checking Peripheral Devices
Inspect any peripheral devices connected to your desktop, such as keyboards, mice, and external drives. Disconnect all peripherals, then attempt to start your computer to eliminate any potential conflicts.
Periodically, a malfunctioning peripheral can prevent your desktop from booting correctly. For instance, a stuck key on your keyboard can interfere with startup processes. After disconnecting, reconnect devices one at a time to check if any specific component is causing the issue. This not only helps identify faulty devices but also restores functionality once the problematic peripheral is recognized and addressed.
Performing a Hard Reset
Safe Shutdown Procedures
To safely initiate a hard reset, ensure your desktop is completely powered off. If the system is unresponsive, you can hold down the power button for at least 10 seconds until it shuts down. This prevents potential data corruption and allows the hardware to reset.
Disconnecting All External Devices
Unplugging all external peripherals is imperative as they could be causing startup issues. Remove devices like USB drives, printers, external hard drives, and monitors, then attempt to boot the system with only imperative components.
After disconnecting all external devices, the only items left connected should be the keyboard and monitor. This minimal setup helps isolate the issue. If the system starts successfully, reconnect your devices one by one, identifying any faulty hardware that may have contributed to the original problem.
Rebooting the System
Once you have completed the hard reset and disconnected all external devices, it’s time to reboot the system. Press the power button to turn on your desktop, observing any signs of life, such as lights or sounds.
During the reboot, pay attention to any error messages or unusual beeping sounds, as these can indicate specific hardware failures. If the computer powers on but doesn’t boot properly, further investigation into RAM and other internal components may be necessary. Keep track of your symptoms for future troubleshooting steps.
Diagnosing Hardware Issues
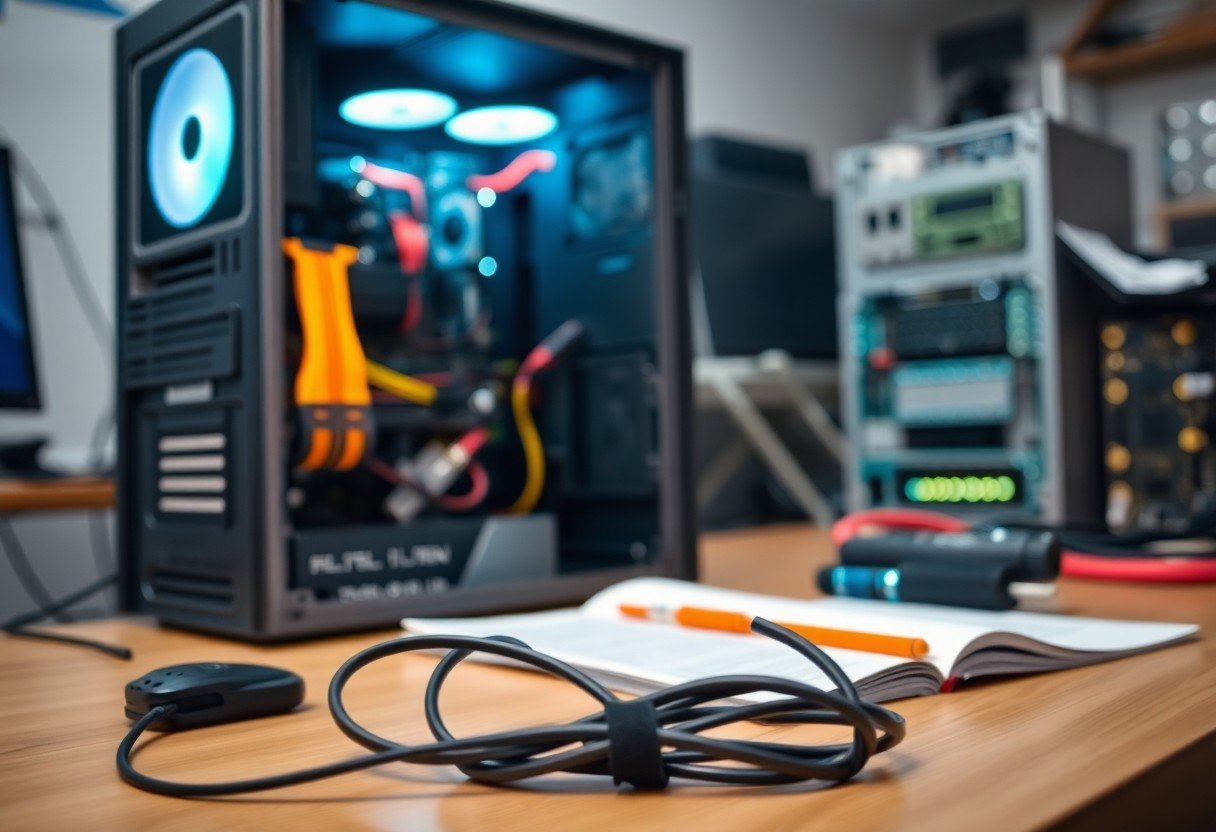
Inspecting Internal Connections
Open your desktop case and visually check all internal connections. Make sure that the power supply cables, data cables, and RAM sticks are securely seated in their respective slots. A loose connection can interrupt power or signal flow, preventing your system from starting. Look for any signs of damage such as burnt wires or bent pins, as these may indicate bigger problems.
Testing with Minimal Hardware
Reduce your system to the crucial components to troubleshoot effectively. Disconnect all peripherals and remove any non-crucial hardware, including additional RAM sticks, graphics cards, and storage drives. Keep only the motherboard, CPU, and a single power supply connected while attempting to power on your desktop.
By simplifying your setup, you can isolate the source of the issue more easily. If the system boots, one of the removed components may be malfunctioning. Gradually reattach each component to pinpoint the culprit. This method is useful for identifying failing hardware without the confusion of multiple parts interacting in unexpected ways.
Utilizing Diagnostic LEDs and Beeps
Many motherboards feature diagnostic LEDs or emit beep codes during startup to indicate specific issues. Pay attention to any lights or sounds when powering on your system, as these can guide you in diagnosing the problem. Check your motherboard manual for a reference to interpret these codes correctly.
By utilizing these diagnostic tools, you can gain valuable insights into what might be causing your desktop to fail to start. For example, a series of long beeps typically indicates a memory issue, while certain LED patterns may point to power supply or motherboard malfunctions. These immediate signals can save you time and frustration in the troubleshooting process.
Investigating Software Problems
Booting in Safe Mode
If your desktop refuses to start normally, try booting in Safe Mode. This special mode loads only crucial system files and drivers, helping you troubleshoot software issues without interference. You can access Safe Mode by pressing F8 during boot-up, allowing you to determine if third-party applications or settings are causing the problem.
Repairing or Reinstalling Operating System
When all else fails, consider repairing or reinstalling your operating system. A repair installation retains your files while fixing critical system components. If that doesn’t solve your issue, a clean reinstall will wipe your drive, so back up your data first.
A repair installation typically involves using installation media to access recovery options. Once there, choose the option to repair your OS, which can mend corrupted system files without losing personal data. Make sure you have your product key handy, as this may be required during the process. This can be a time-saver compared to a complete reinstall, which would necessitate reinstalling all your applications and restoring saved files.
Checking for Corrupted Drivers
Corrupted drivers can lead to various problems, including startup failures. To check for these, boot into Safe Mode and open the Device Manager. Look for any devices with a yellow triangle, indicating a driver issue that you can troubleshoot from there.
You may find that updating or uninstalling problematic drivers resolves the issue. In Device Manager, right-click on any device displaying an error and select “Update Driver” or “Uninstall Device.” After uninstalling, restart your desktop, and Windows should automatically reinstall the necessary drivers. If a specific software or hardware component is causing constant problems, consider rolling back to a previous driver version that was functioning correctly.
Identifying Overheating Problems
Cleaning Dust from Fans and Vents
Dust accumulation in your desktop’s fans and vents can severely restrict airflow, leading to overheating. You should regularly open your case and use compressed air to blow out dust from vents and fan blades, ensuring that both intake and exhaust systems function properly.
Ensuring Proper Ventilation
Good ventilation is necessary for maintaining optimal operating temperatures. Position your desktop in a spacious area where airflow is unimpeded and avoid placing it in enclosed spaces like cabinets or behind other devices.
For enhanced airflow, consider using cable management solutions to tidy up wires obstructing vents. Placing your computer at least a few inches away from walls can further improve ventilation. Using additional cooling accessories like fans can also help manage heat more effectively.
Monitoring Temperature Levels
Keeping an eye on your system’s temperature can help you take proactive measures before overheating occurs. Utilize software tools to track CPU and GPU temperatures, noting any unusual spikes that could indicate cooling issues.
Temperature Monitoring Tools
| Tool | Functionality |
| HWMonitor | Real-time temperature monitoring for various components |
| Core Temp | Focuses on CPU temperature readings |
| SpeedFan | Monitors temperatures and controls fan speeds |
Using these monitoring tools will alert you to any overheating trends. It’s advisable to set thresholds for automatic notifications; if your temperatures exceed a specified point, you can initiate corrective actions immediately, preventing potential damage.
Benefits of Regular Monitoring
| Benefit | Details |
| Proactive Maintenance | Identify problems before they escalate |
| Performance Optimization | Ensures components run at efficient temperatures |
| Extended Lifespan | Reduces wear and tear on hardware |
Advanced Troubleshooting Techniques
- Resetting BIOS/UEFI Settings
- Running Hardware Diagnostics
- Checking for Firmware Updates
Resetting BIOS/UEFI Settings
Resetting BIOS/UEFI Settings
If your desktop still won’t start, consider resetting the BIOS or UEFI settings to their default configurations. This can resolve issues caused by incorrect settings that may have been changed inadvertently. To reset, restart your computer and press the designated key (usually F2, Del, or Esc) during the boot process to access BIOS/UEFI. Look for an option to “Load Setup Defaults” or “Reset to Default,” confirm your choice, and save the changes before exiting.
Running Hardware Diagnostics
Running Hardware Diagnostics
Utilize built-in hardware diagnostics tools provided by your manufacturer to identify potential hardware issues. These tools can check the integrity of vital components like RAM, hard drives, and motherboards. Access these diagnostics by pressing a specific key (often F12 or similar) during startup, allowing you to run tests without a bootable OS.
Running Hardware Diagnostics can save you time and eliminate guesswork. For instance, many systems, like Dell or HP, have comprehensive diagnostics that can highlight failing RAM or hard drives, allowing you to address specific problems directly. If any components fail these tests, consider replacing them as a solution to startup issues.
Checking for Firmware Updates
Checking for Firmware Updates
Outdated firmware can lead to system instability and startup failures. Check your motherboard manufacturer’s website for any available updates, as these updates often include performance enhancements and critical security fixes. Ensuring you have the latest firmware can markedly improve your system’s reliability.
Some manufacturers provide a utility to manage firmware updates directly from your operating system. These tools not only streamline the process but also ensure you can safely apply updates without needing additional software. Checking regularly for firmware updates is a good practice to maintain system health and stability.
Summing up
As a reminder, before seeking professional help for your desktop that won’t start, you can try these seven DIY fixes. You can often resolve issues by checking connections, inspecting hardware for damage, or attempting a power reset. By systematically going through these solutions, you may save time and money while gaining valuable skills in troubleshooting your computer. Keep these strategies in mind, and you’ll enhance your confidence in managing future tech challenges.
FAQ
Q: What are the first steps to take if my desktop won’t start?
A: First, check the power supply by ensuring the cable is securely plugged in and the outlet is functioning. Look for any visible damage to the power cord. If there’s still no power, try a different outlet or power cable.
Q: How can I determine if the monitor is the issue?
A: Ensure the monitor is powered on and connected properly to the desktop. Check for any indicator lights. If possible, connect the monitor to another computer to confirm its functionality. A blank screen may indicate a monitor failure.
Q: What should I do if I hear beeping sounds when I attempt to start the desktop?
A: Beeping sounds typically indicate hardware issues. Check the system’s manual for the meaning of specific beep codes, which could relate to memory or graphics card problems. Reseat the RAM and graphics card if necessary.
Q: How do I troubleshoot software issues if the hardware appears fine?
A: Try booting the computer in Safe Mode by repeatedly pressing F8 as it starts. This allows you to access the operating system with minimal drivers. From there, you can perform system repairs, update drivers, or remove recently installed software.
Q: When should I consider seeking professional help for a desktop that won’t start?
A: If none of the DIY fixes resolve the issue after thorough troubleshooting, or if you suspect serious hardware damage, it may be time to consult a professional. Additionally, if there are signs of smoke, burning smells, or if the problem persists, professional assistance is advisable.